Revitalize Your Garden: The Ultimate Guide to How to Clean Solar Lights!
Introduction:
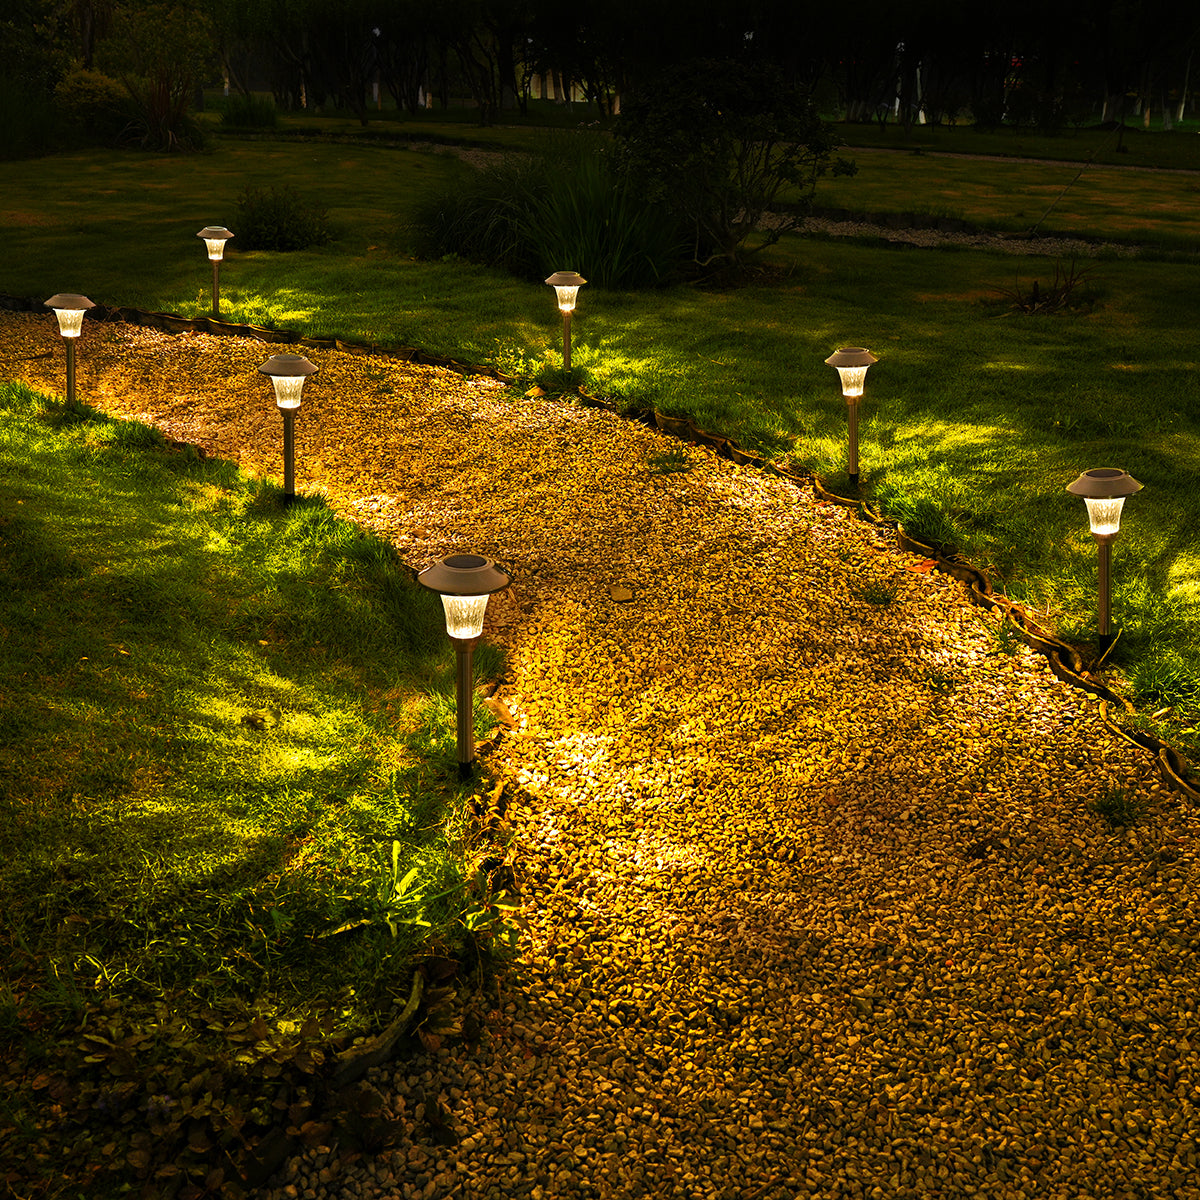
There's something magical about a garden twinkling with solar lights—it’s like your own private constellation right at your doorstep. But over time, even the brightest stars in your garden can start to dim. It's not your garden's fault, nor the solar lights'—it’s simply nature taking its course. Dirt, debris, and the occasional bird dropping play their part in clouding the solar panels and reducing the lights' efficiency. Let’s dive into how to clean solar lights to keep them shining bright, drawing from my own weekend battles with the elements!
Understanding Your Solar Lights
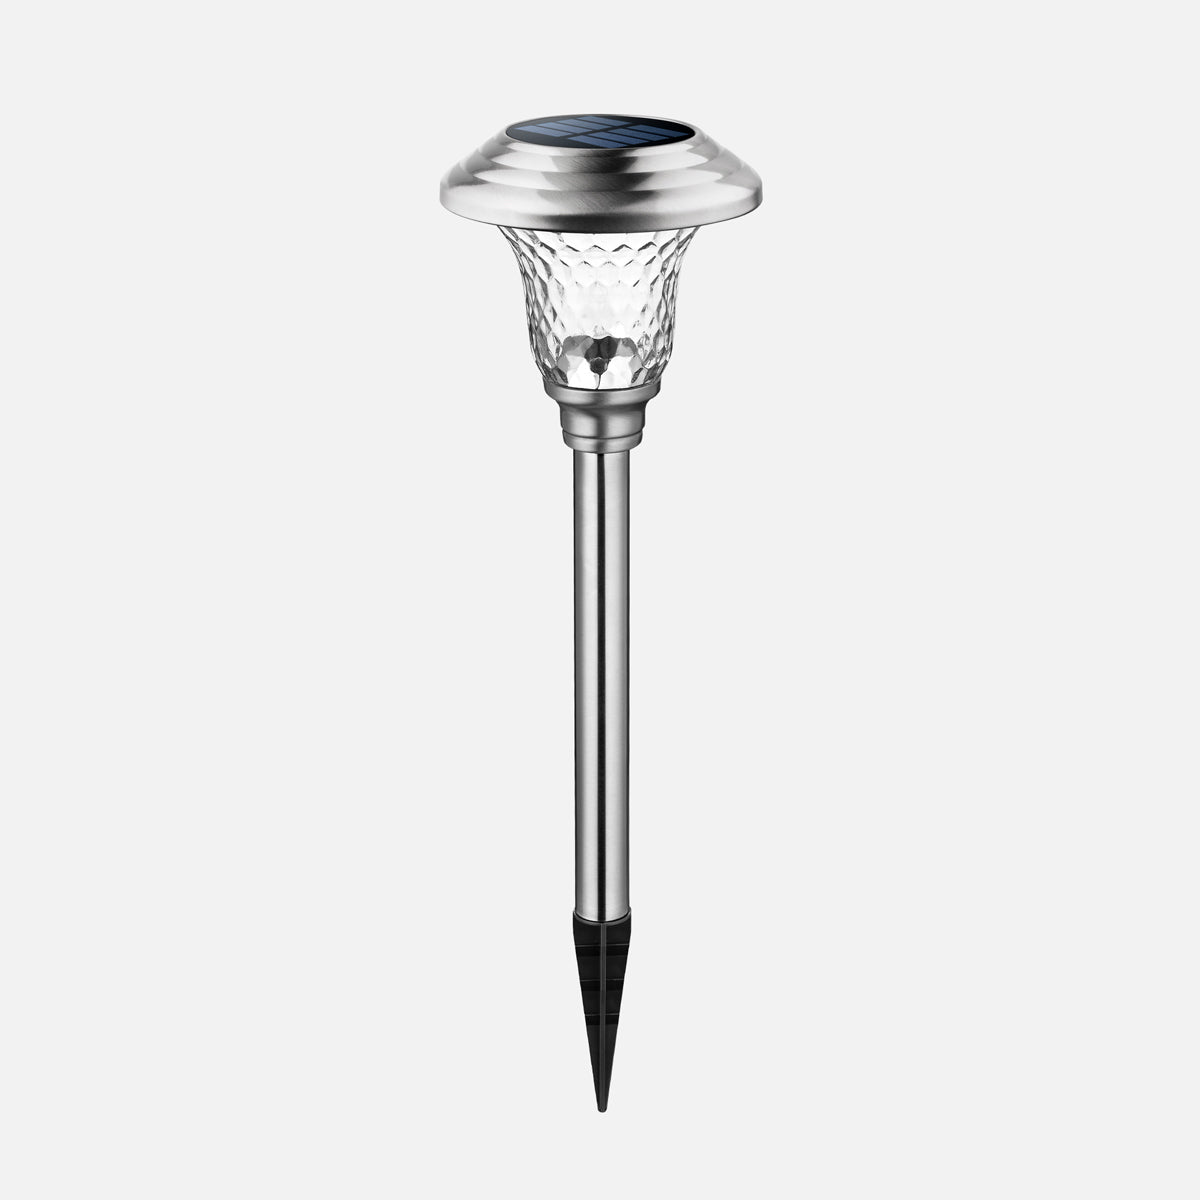
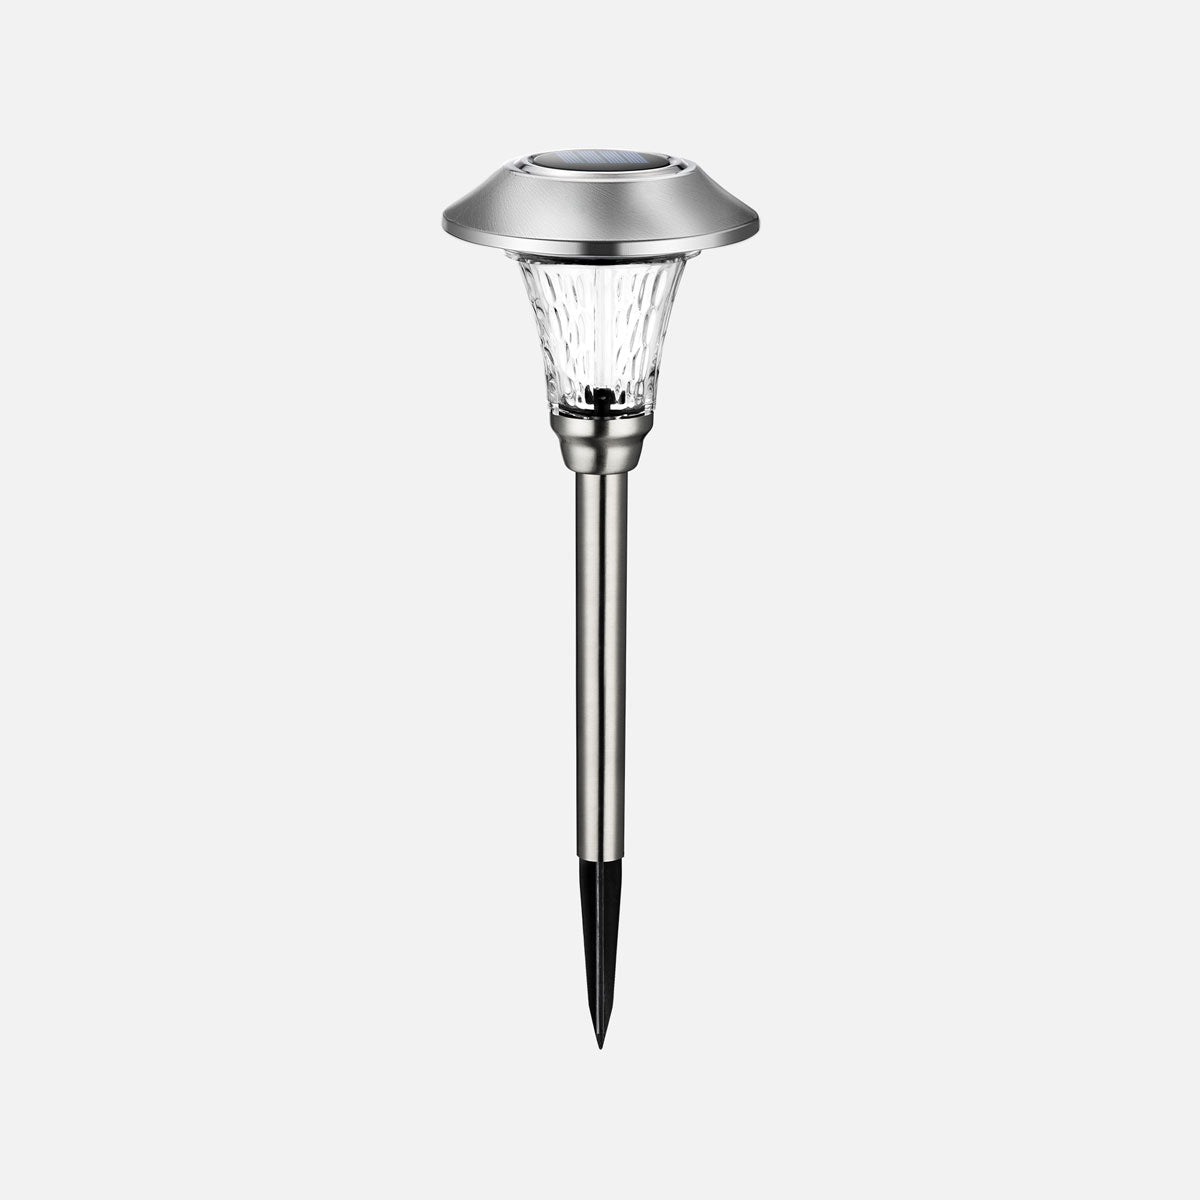
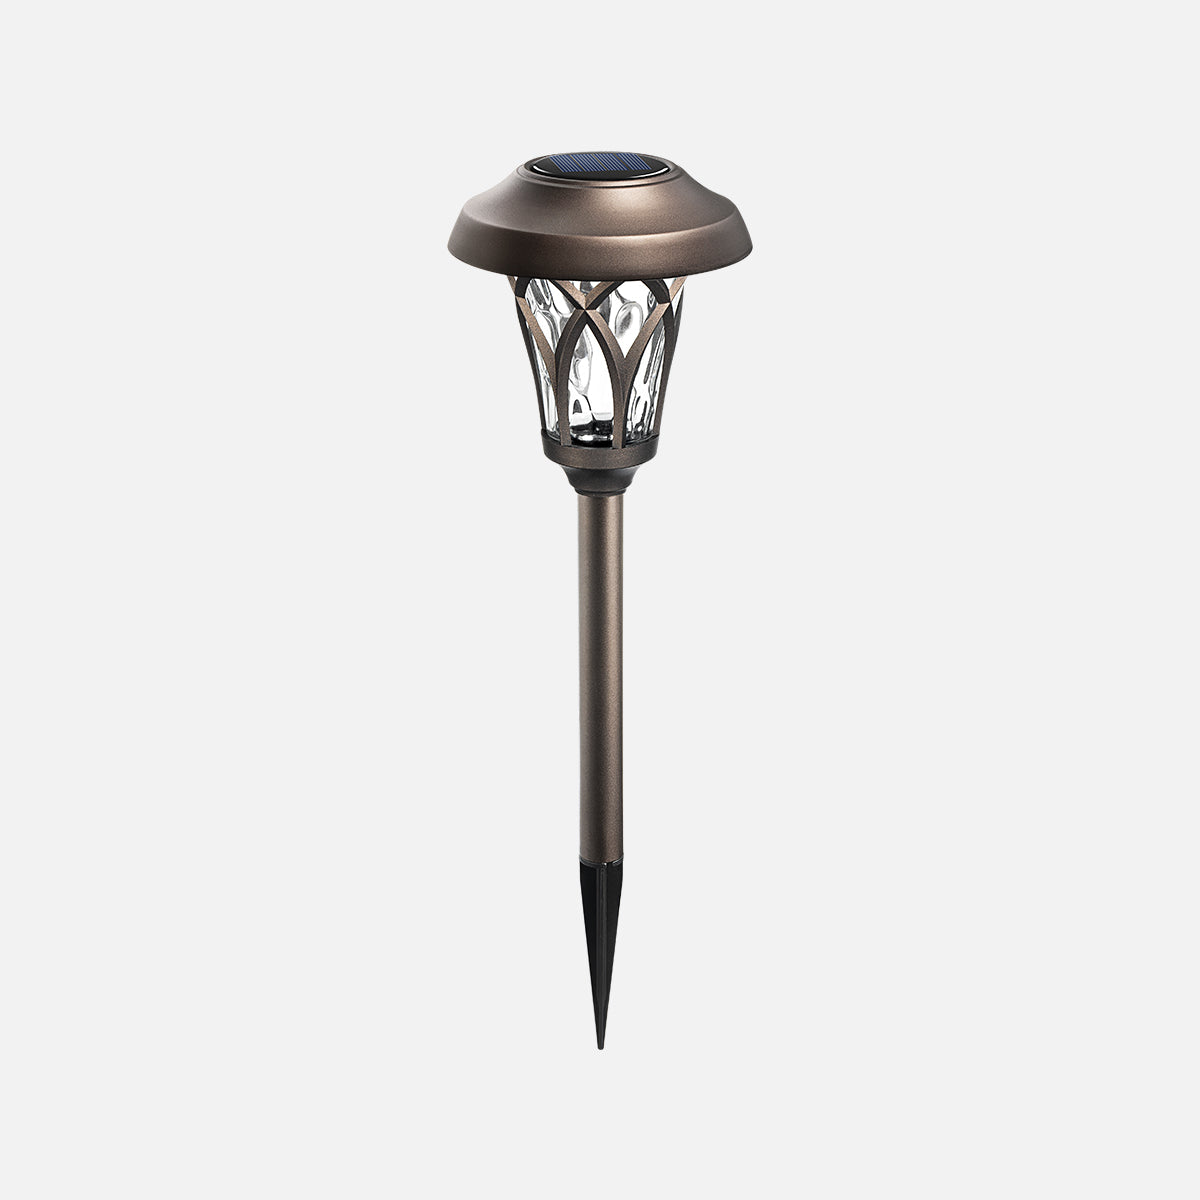
1. Types of Solar Lights
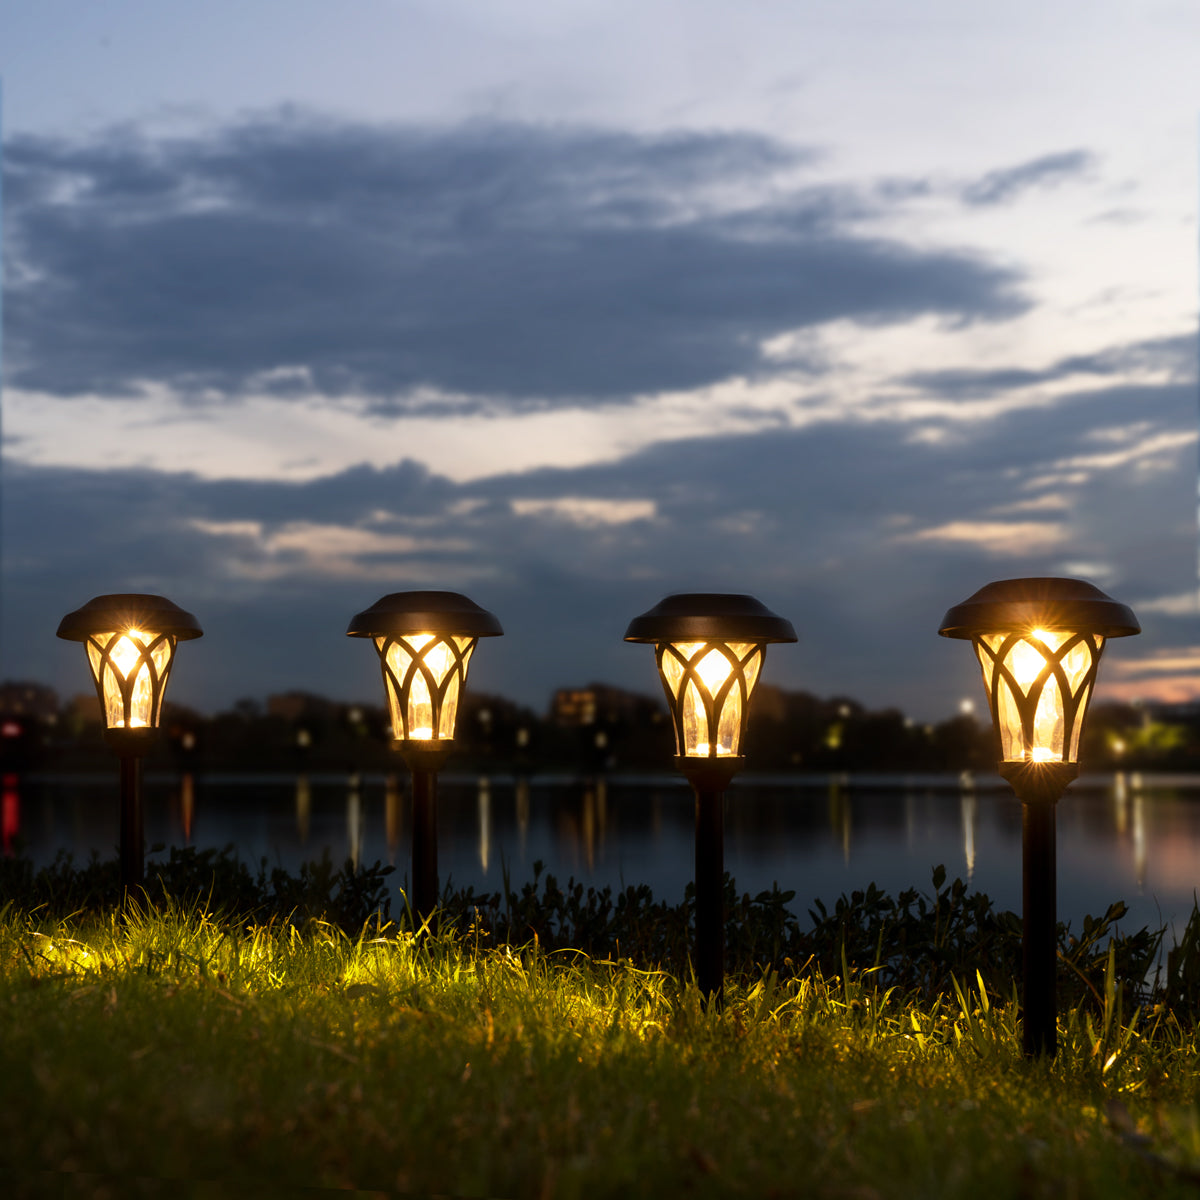
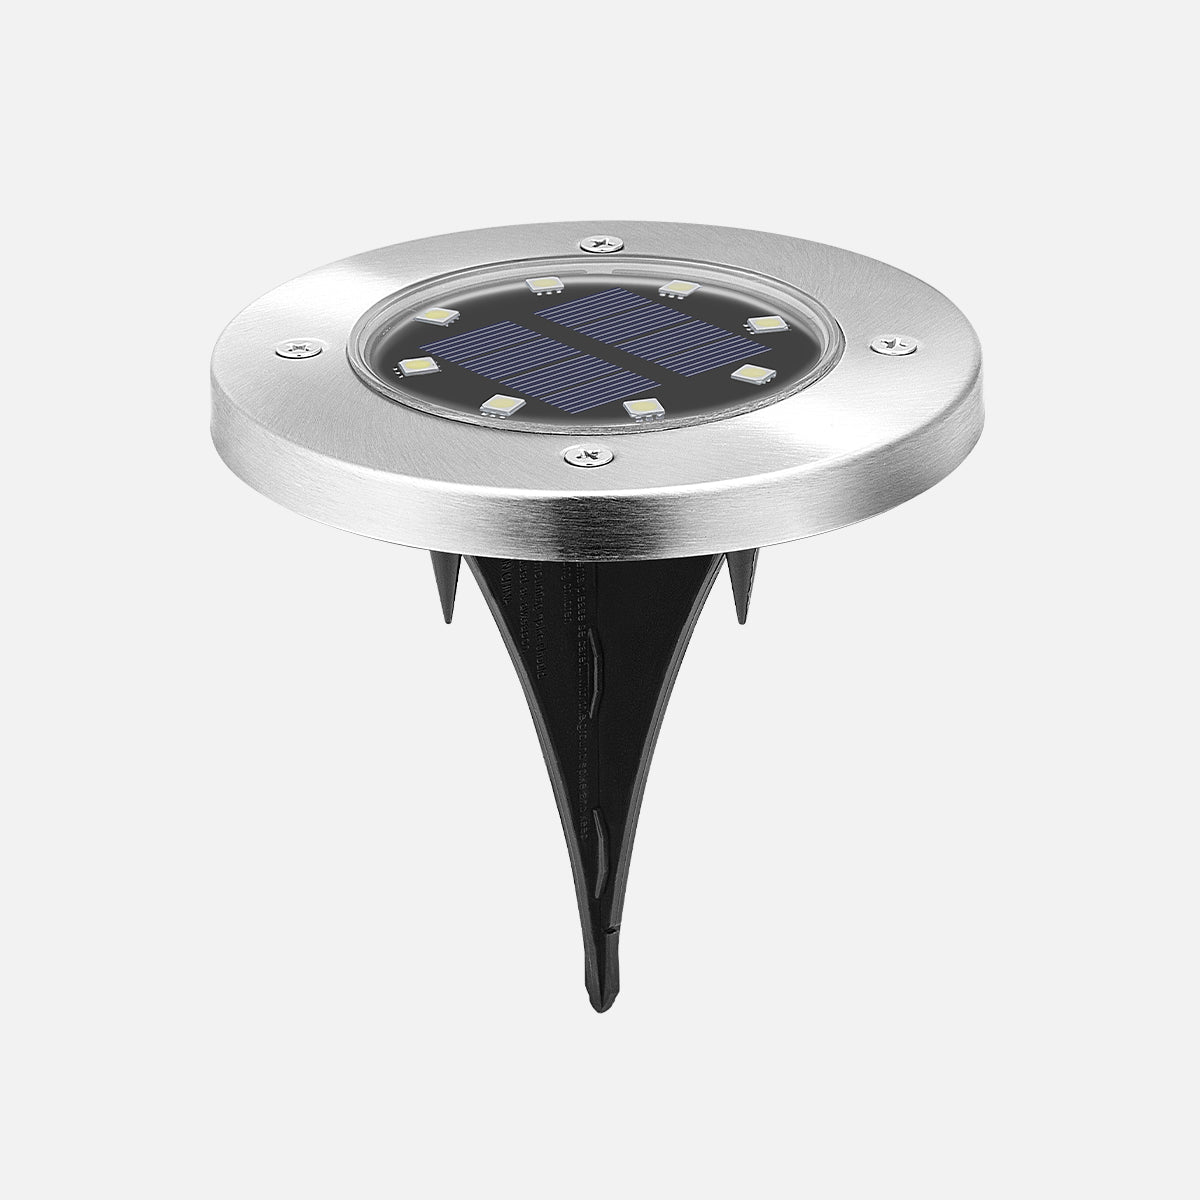
Solar lights come in various shapes and sizes, each serving a different purpose. Pathway lights ensure you can safely navigate your garden paths after sunset. Decorative lanterns add a touch of whimsy and interest, and spotlights can highlight your garden’s best features or important areas for security. Knowing which type you have helps tailor your solar light cleaning and maintenance routine.
2. How Solar Lights Work
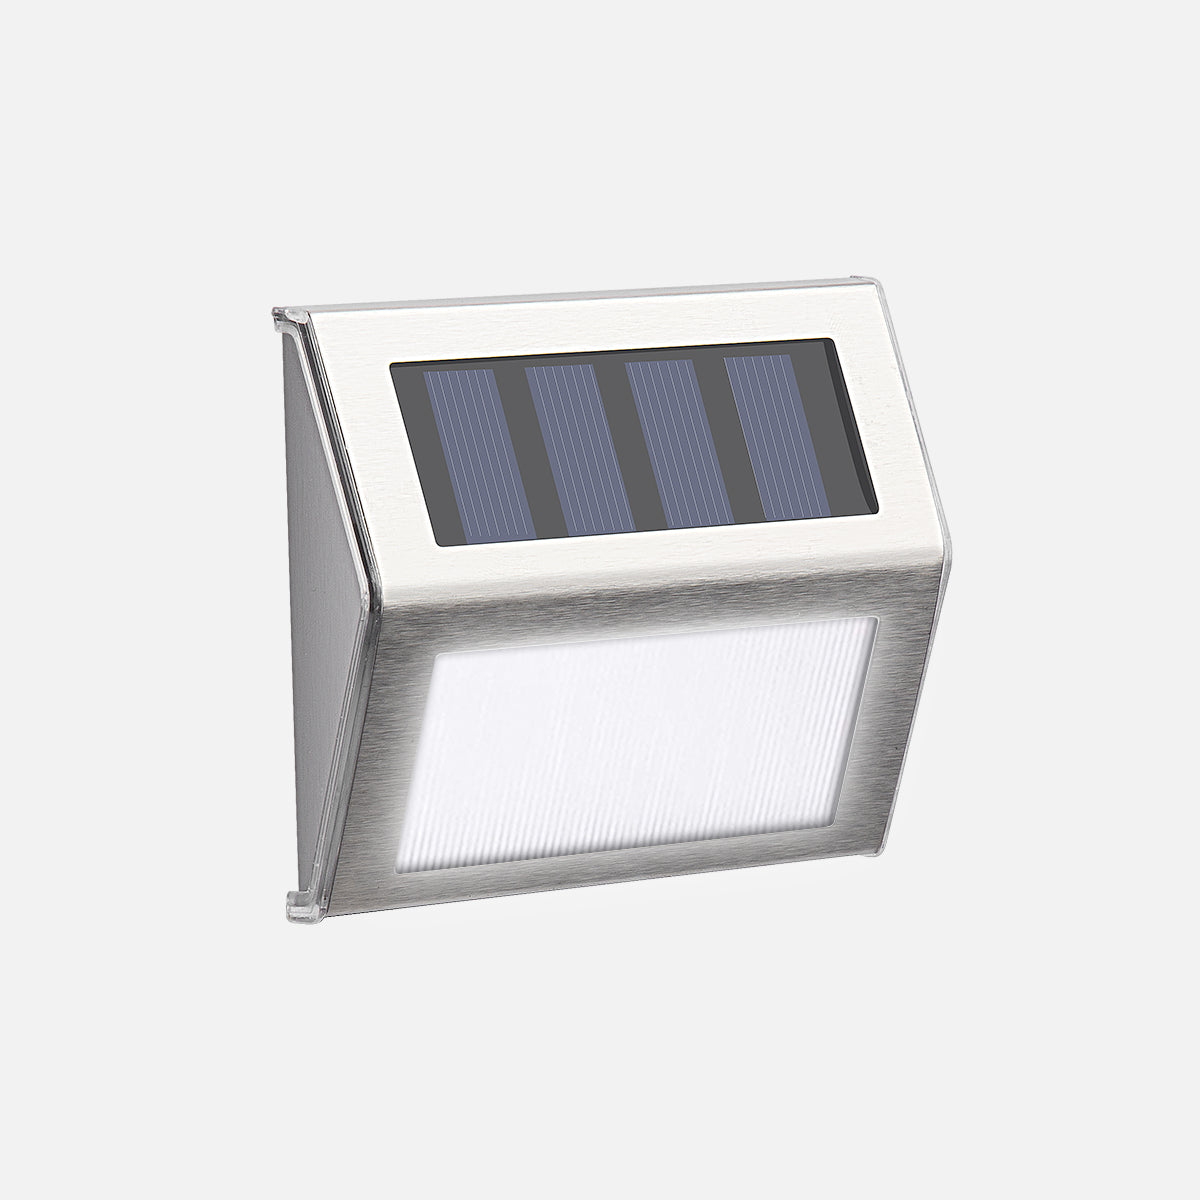
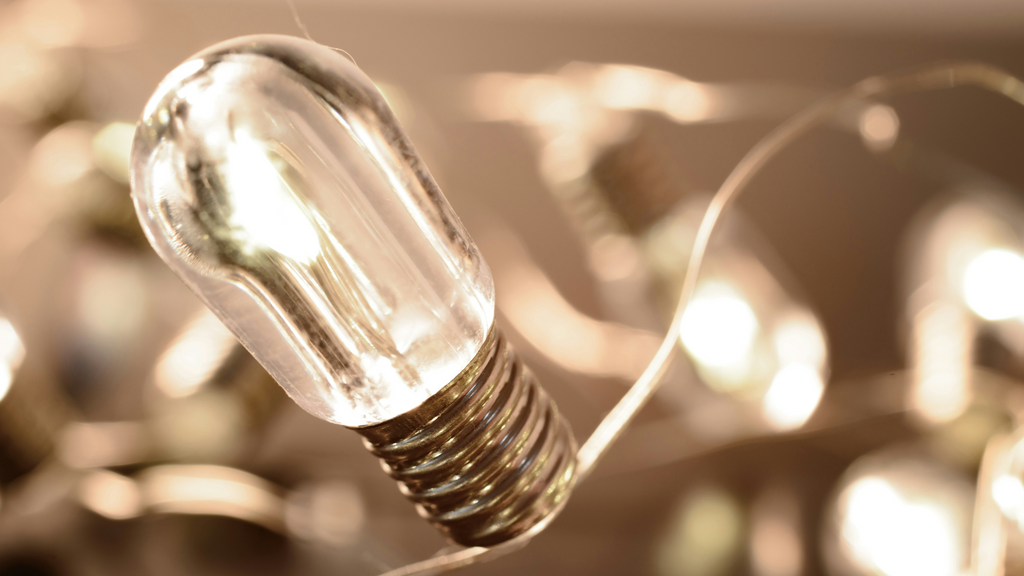
The basic principle behind solar lights is simple: they convert sunlight into electrical energy. This energy charges a battery during the day, which powers the LED light at night. Key components include the solar panel, battery, LED, and the protective casing. Each part needs to be maintained to ensure optimal performance.
The Signs of Neglect
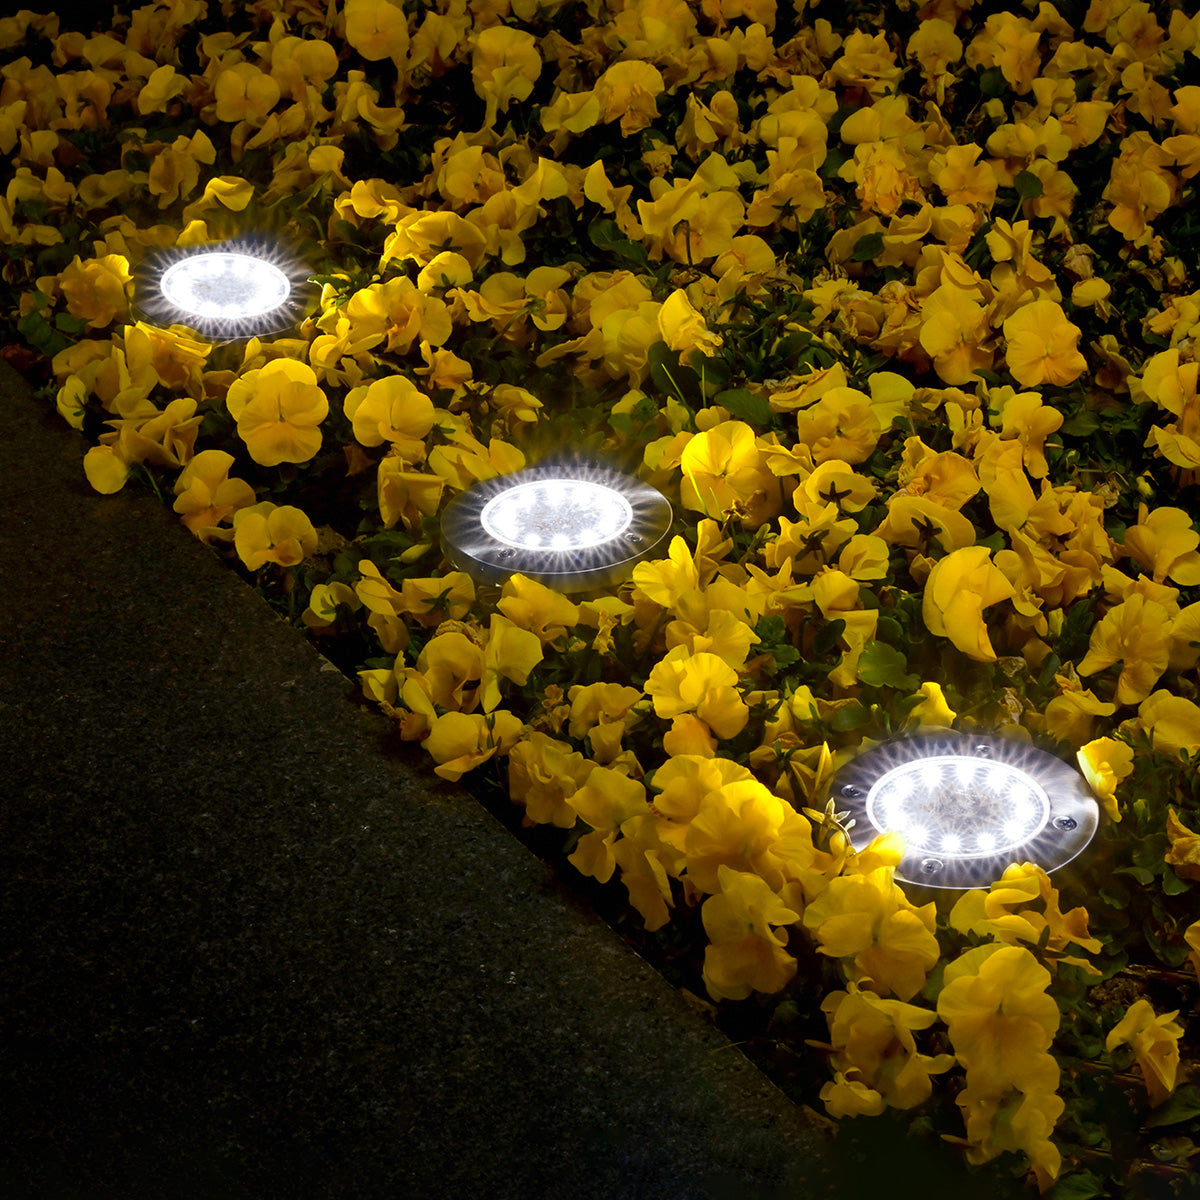
You’ll notice a few clear signs when your solar lights start begging for some TLC. Dimming lights are a common first indicator. If they’re not as bright as they used to be or they don’t last through the night, it might be time for a clean-up. Also, if you spot a layer of grime or even moss on the solar panel, it’s definitely cleaning time!

Preparing for Cleaning
1. Safety First
Always turn off your solar lights before cleaning. This not only protects you from any electrical issues but also prevents any accidental damage while you’re wiping and scrubbing away.
2. Materials Needed
Most times, you’ll only need a few household items:
- Soft cloth or sponge
- Soapy water
- Soft brush (an old toothbrush works wonders)
- Glass cleaner for tougher stains
I learned the hard way that using harsh abrasives can scratch the solar panel, significantly reducing its effectiveness. Stick to soft materials to keep everything in top shape.

Step-by-Step Cleaning Guide
1. Cleaning the Solar Panel
The solar panel is the heart of the light's functionality. Start by gently brushing off any loose debris with a soft brush. Then, dampen your cloth with soapy water and wipe the surface in a circular motion to avoid scratching. For those stubborn spots—like tree sap or bird droppings—a bit of glass cleaner can be a game-changer.
2. Cleaning the Light Fixture and Housing
Next, it’s time to clean the light fixture and housing. Wipe down the exterior with a damp cloth. If the cover is removable, take it off and clean both sides. This is crucial as dirt inside the cover can block light output just as much as anything on the outside.
3. Battery Maintenance
Finally, check the battery compartment. Corrosion on the contacts can occur, especially in humid climates. If you see any, gently clean it with a dry cloth or a bit of sandpaper. Remember to replace the batteries if they haven’t been changed in a while or if the lights aren’t holding a charge through the night.
Reassembling and Testing
Once everything is clean and dry, reassemble your lights. Make sure all parts are secure and watertight—moisture getting into the electronics is a surefire way to shorten their lifespan. Turn them back on and place them back in their spots. It’s always a good idea to check their positioning too; sometimes plants grow enough to start shading your solar panels without you noticing.
Maintenance Tips to Extend Lifespan
Regular maintenance is the key to longevity for your solar lights. I set a reminder to give mine a quick clean every two months, which might increase if there’s been particularly bad weather. Also, trimming back any overhanging branches or bushes that might shade the panels can help maintain their efficiency.

Troubleshooting Common Issues
If your lights still aren’t working after a clean, it might be time for a deeper dive. Check all connections for tightness and ensure there’s no water inside. Sometimes, you might need to reset the lights by turning them off and leaving them off for a day before turning them back on.
Conclusion
Keeping your solar lights clean and well-maintained not only enhances the beauty of your garden but also ensures you’re getting the most out of your investment. With the right care, those little lights can cast a big glow for years to come.
Call to Action
Tried any of these tips? Got some of your own? Share your experience and light up the conversation below. Your tips might just help someone else’s garden shine a little brighter!
In this guide, we covered everything you need to know to keep your garden's solar lights in pristine condition. With these steps, you’ll ensure that your outdoor space remains a radiant haven night after night.